Substrate Ball Preparation
How to Prepare a STUDIO AQUATICA Substrate Ball

[ STEP 1 ]
Rinse your [SA] Substrate Ball and allow to soak in water for 30-45 minutes. The substrate ball will fully saturate with water and the core will soften to facilitate easier planting.

[ STEP 2 ]
Press the thread anchor, with thread attached, completely into the substrate ball. This will provide a secure attachment point for the thread and makes wrapping the ball easier.

[ STEP 3]
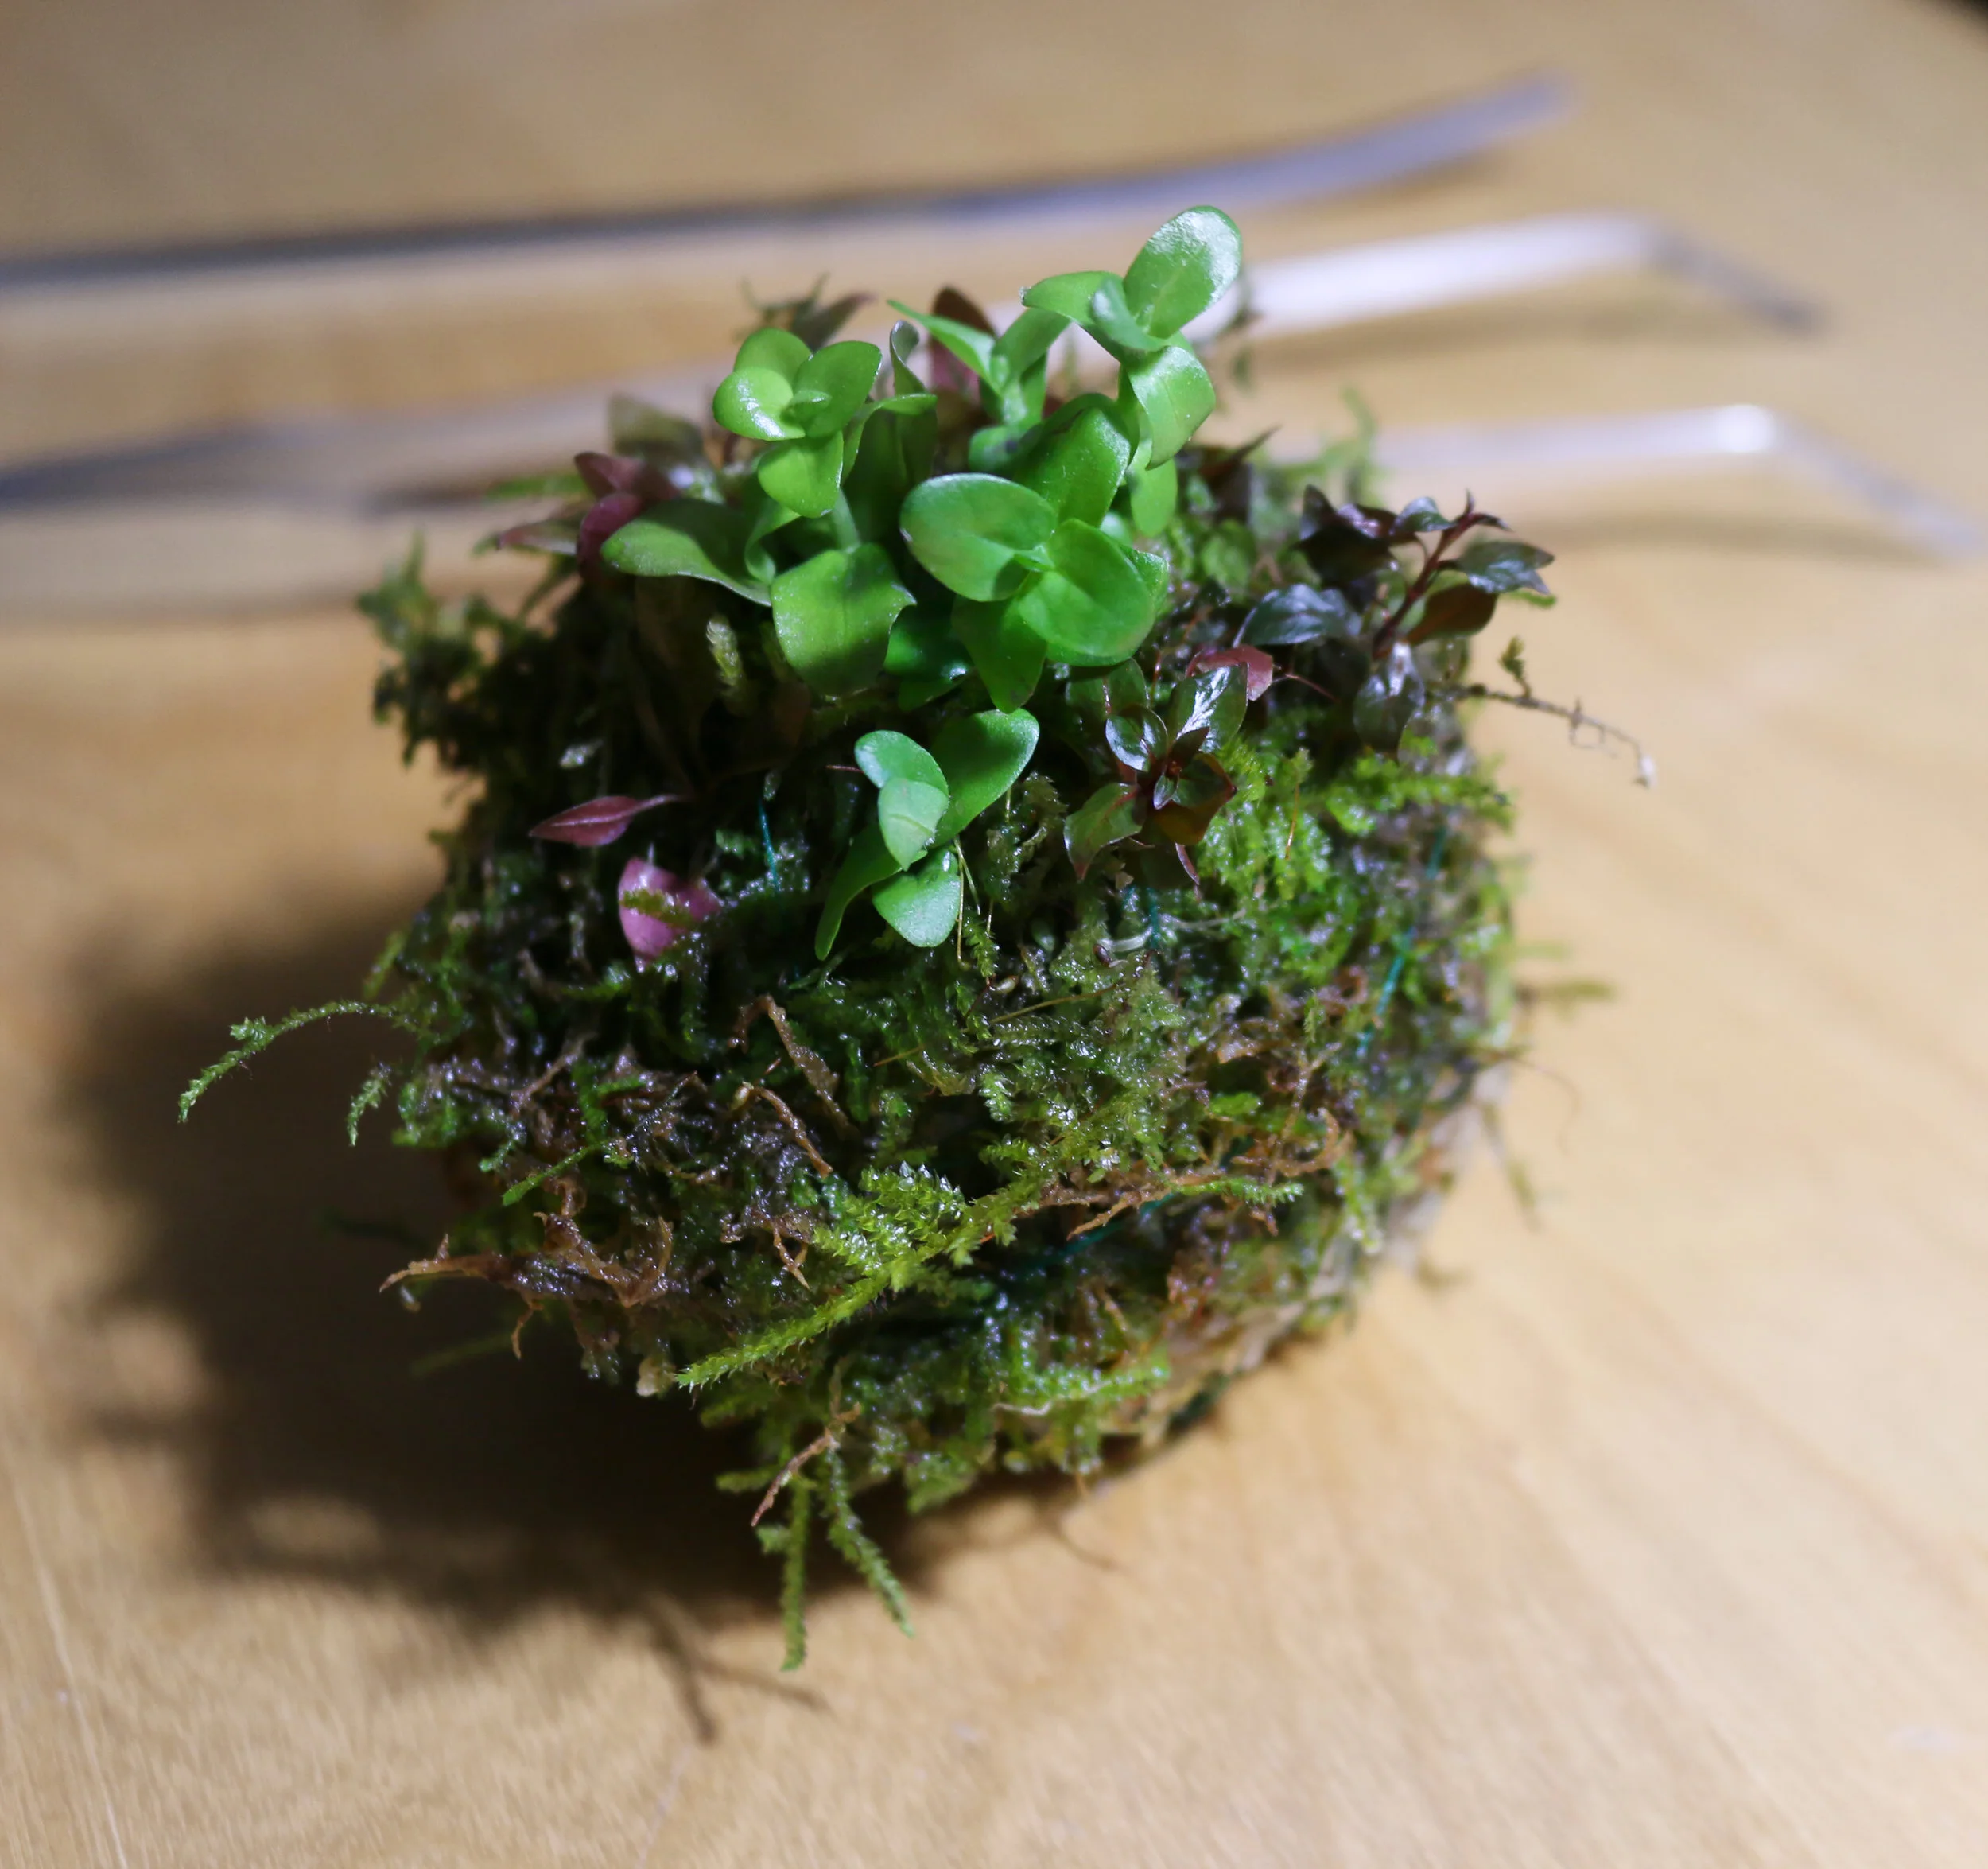
Wrap aquatic moss around the substrate ball and secure with thread.
This is a great way to incorporate carpeting and epiphytic plants onto your substrate ball as well.

[ STEP 4 ]
Using planting forceps, or another pointed tool, bore holes into the substrate ball to plant stem species.
[ FINISHED ]
Substrate Ball preparation is now complete.
If your Substrate Ball has plants residing above the water surface, it is recommended that you mist their leaves daily as they transition to growth above the surface.
If you live in an especially dry climate, it may be beneficial to cover the top of the Substrate Ball in plastic wrap to retain humidity during this transition.
STUDIO AQUATICA always recommends using in-vitro or tissue-cultured plants when preparing an [SA] Substrate Ball. These plants are not only free of pests and contaminants, but are also already adapted to growing out of water. This insures maximal success for wabi kusa or emergent growth aquascapes.
[SA] Substrate Balls also work great for house plants that tolerate submerged roots, like Pothos and Peace Lilies.